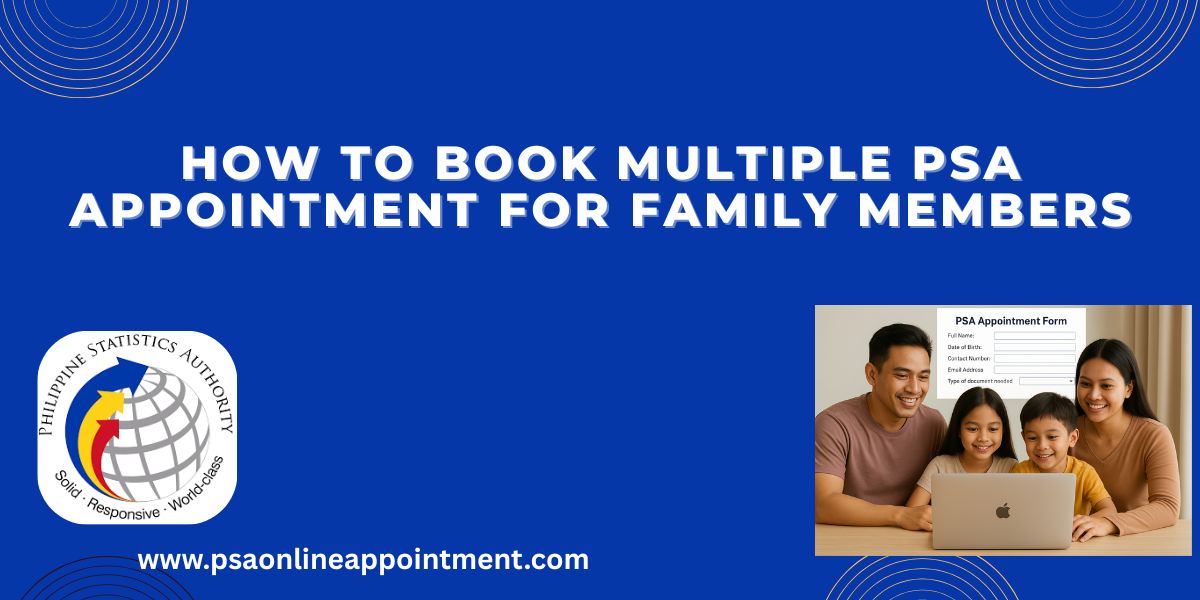
How to Book Multiple PSA Appointments for Family Members Complete Guide 2025
Booking PSA appointments for several family members can feel like a big task, especially when the online system only allows one appointment per person. Many people face problems when they try to schedule appointments for everyone on the same day. But don’t worry ,this guide will help you book multiple PSA appointments in a simple, organized, and stress-free way. Check complete process for PSA Walk-In Appointment 2025 for Birth Marriage CENOMAR and Death Certificate
Understanding the PSA Appointment System
Before starting the process, it’s important to understand how the PSA appointment system works.
The Philippine Statistics Authority (PSA) is responsible for providing official civil documents such as birth, marriage, and death certificates. Because these services are in high demand, PSA now uses an online appointment system to manage visitors and reduce long lines at offices.
This system allows each person to book an appointment using their own details. It does not support group or family bookings under one name. That means if you want to book for your spouse, children, or parents, you must do it one by one.
Think of it like buying several train tickets each traveler needs a separate ticket even if you’re all traveling together.
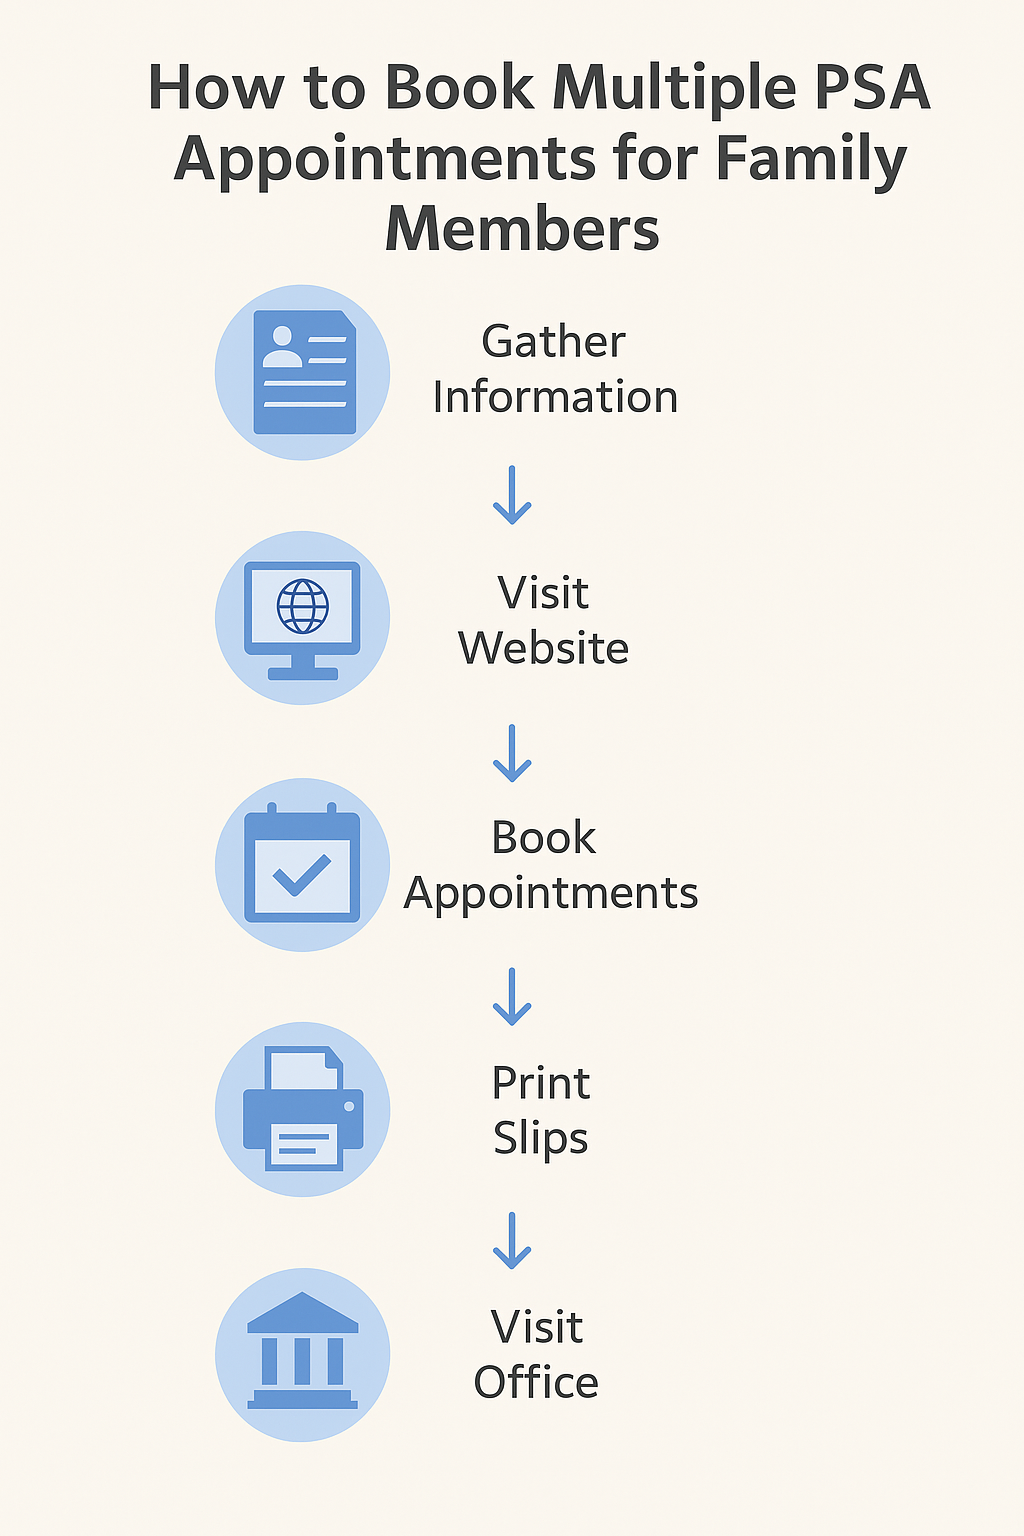
Step-by-Step Guide to Book Multiple PSA Appointments for Family Members
Follow these simple steps to make the process smooth and quick for your whole family.
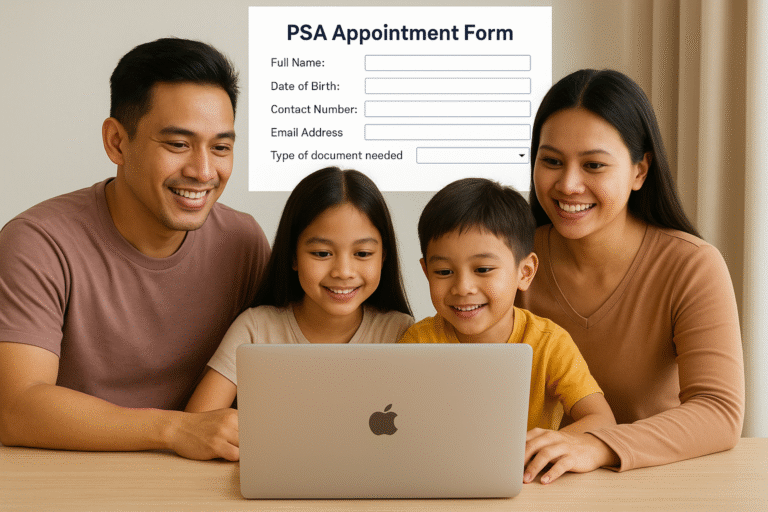
Step 1: Prepare All Information Before Booking
Preparation is the most important part of the process. Before visiting the website, collect all the required details for each family member and write them in a notebook or spreadsheet. You’ll need:
- Complete Name (same as shown on their ID)
- Date of Birth
- Contact Number
- Email Address
- Type of document needed (e.g., birth certificate, marriage certificate, death certificate)
Having everything ready will help you move faster between appointments and avoid typing mistakes that could delay your booking.
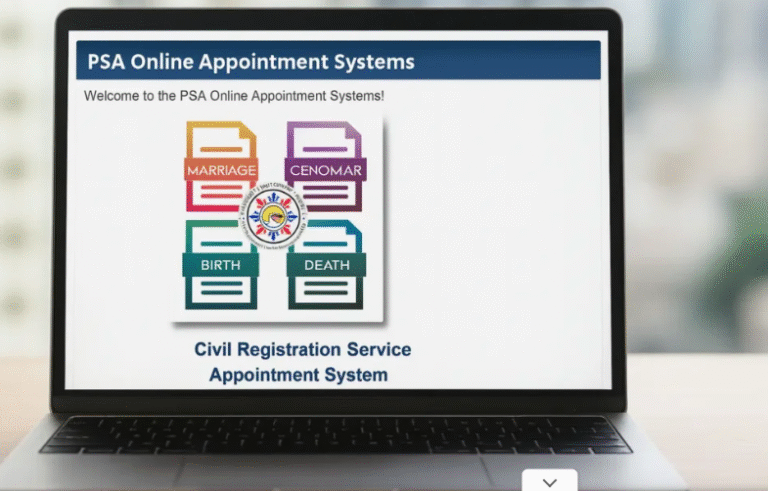
Step 2: Visit the Official PSA Online Appointment Portal
Once you have all the information, go to the official PSA website: https://appointment.psa.gov.ph/
Always make sure you’re using the official government website. Many fake sites look similar and may ask for unnecessary fees or personal details. The official portal is completely free to use for scheduling appointments.
Step 3: Create a Separate Appointment for Each Family Member
The PSA system doesn’t allow you to book for multiple people in one form. You’ll need to make a separate booking for each person.
Here’s how you can do it:
- Select the type of document you want to request.
- Enter the person’s full details as required.
- Choose your preferred PSA office location.
- Pick an available date and time slot.
- Confirm the booking and note the reference number.
After finishing the first booking, repeat the same process for the next family member. You can use the same computer and email (if necessary), but make sure each appointment uses the correct personal information.
Step 4: Use Multiple Tabs or Devices to Get Close Time Slots
One of the best ways to book appointments close together is by using multiple browser tabs or different devices at the same time.
- Multi-Tab Method:
Open several tabs on your browser, one for each family member. Fill in the booking details in all tabs and stop right before selecting the time slot. Then, quickly choose the same date and consecutive time slots in each tab. For example, 9:30 AM for the first person, 9:45 AM for the next, and 10:00 AM for the third. - Multi-Device Method:
If you have more than one device (like a laptop, tablet, or smartphone), you can use them at the same time. Ask a family member to help you so all bookings can be made within a few seconds of each other. This increases the chance of getting appointments near each other.
This small trick helps keep everyone’s schedule together and makes your PSA visit easier.
Step 5: Save or Print Each Appointment Slip
After booking, the system will show an appointment slip for each person. It includes:
- Reference Number
- Name of the Applicant
- Date and Time of Appointment
- PSA Office Location
Save this slip as a PDF, take a screenshot, or print it. Each family member must have their own copy of the slip, as it will be checked by PSA staff during your visit.
You can also label each slip with the person’s name to avoid mix-ups on the day of the appointment.
Tips for a Smooth and Successful Booking Experience
Booking several PSA appointments can still be stressful, but these helpful tips will make things simpler and faster.
1. Avoid Peak Hours and Days
Early mornings on Mondays are often the busiest times. Try to schedule appointments in the afternoon or on mid-week days like Tuesday or Thursday for shorter waiting times.
2. Have Backup Dates Ready
Sometimes the slots you want may already be full. Write down two or three alternative dates or locations so you can quickly choose another option without starting over.
3. Use a Fast Internet Connection
A strong and stable connection helps you complete the booking smoothly. Avoid using mobile data or weak Wi-Fi when filling the forms.
4. Clear Browser Cache Before Booking
Clearing your browser’s cache and cookies helps prevent technical errors such as “session expired” messages that can interrupt your booking.
5. Stay Patient and Try Again
During peak hours, the site may load slowly or show errors. If that happens, don’t panic—just refresh or try again after a few minutes. Many users get through after a few retries.
6. Organize Appointments in a Shared Calendar
Once all slots are booked, add them to a shared calendar on your phone or Google account. This helps you and your family remember the date, time, and location easily.
What to Bring on the Appointment Day
On the day of your visit, each person should bring:
- A printed or saved appointment slip
- A valid government ID (for verification)
- For minors, a parent or guardian should bring their own ID
Make sure you arrive at least 15–20 minutes early. The PSA staff may sometimes allow families to be processed together if their appointments are close in time.
Conclusion
Booking multiple PSA appointments for your family might seem tricky, but with the right approach, it’s quite manageable. Remember the key points:
- Prepare everyone’s details before you start.
- Use the official PSA appointment website.
- Book each appointment separately using multiple tabs or devices for consecutive slots.
- Save and label every appointment slip carefully.
With a little planning and patience, you can easily manage your family’s PSA visits without confusion or wasted time.
Frequently Asked Questions (FAQs)
Can I book one appointment for my whole family?
No. Each person must have a separate booking because the PSA online system handles individual appointments only.
What if my family’s time slots are not consecutive?
That’s okay. As long as everyone’s appointment is on the same day, you can still go to the PSA office together. Staff often accommodate families who come as a group.
Can I change or reschedule an appointment?
Yes. You can reschedule if necessary using the reference number found on your appointment slip. Check the PSA website for any region-specific rescheduling rules.
Can I book an appointment for someone who’s not family?
Yes. As long as you have the correct information (name, birth date, email, and document type), you can book an appointment for anyone.
Is there a payment needed during online booking?
Booking is free. However, you may need to pay for the requested document at the PSA office or through the official payment options provided in your confirmation.