Complete Guide to PSA Online Appointment QR Code
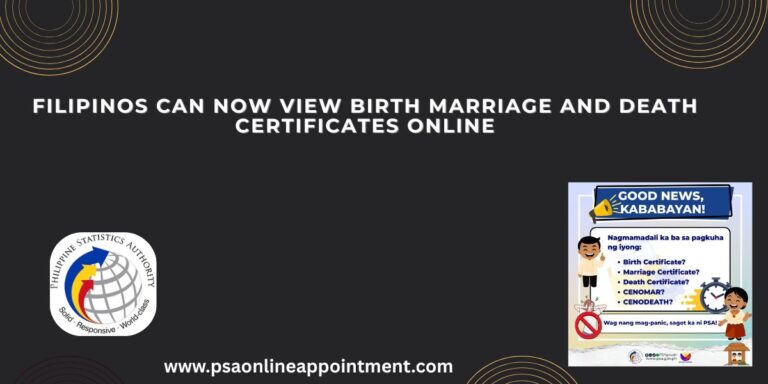
If you’re planning to visit a Philippine Statistics Authority (PSA) office for your civil documents in 2025, there’s one thing you shouldn’t forget — the PSA Online Appointment QR Code. This small code plays a big role in helping you save time, avoid long lines, and have a smooth experience when getting important documents like birth certificates, marriage certificates, or a CENOMAR.
In this guide, you’ll learn what the QR code is, why it’s important, how to get it, and how to use it effectively when you visit a PSA branch.
What is the PSA Online Appointment QR Code?
The PSA Online Appointment QR Code is a digital barcode that contains all the essential details about your appointment. After booking your schedule on the PSA online appointment system, this code is generated and sent to your email. When scanned at the PSA office, it confirms your identity and appointment details.
It includes the following information:
The QR code helps PSA staff verify your details instantly without any paperwork or manual checking.
Why is the PSA QR Code Important?
This code isn’t just a simple image—it is your entry pass to a smoother and faster appointment. Here are a few reasons why this QR code is very important:
- Fast Verification: It allows PSA officers to verify your appointment without delays.
- Contactless Process: Especially after COVID-19, it helps in maintaining a safer, low-contact environment.
- Error-Free Info: Since your details are entered digitally, there are fewer chances of manual errors.
- Required for Entry: In most PSA offices, you won’t be allowed to proceed without it.
If you’re planning to visit without an appointment, you can still follow the PSA walk-in process in the Philippines 2025, but it may take longer and may not be available at all branches.
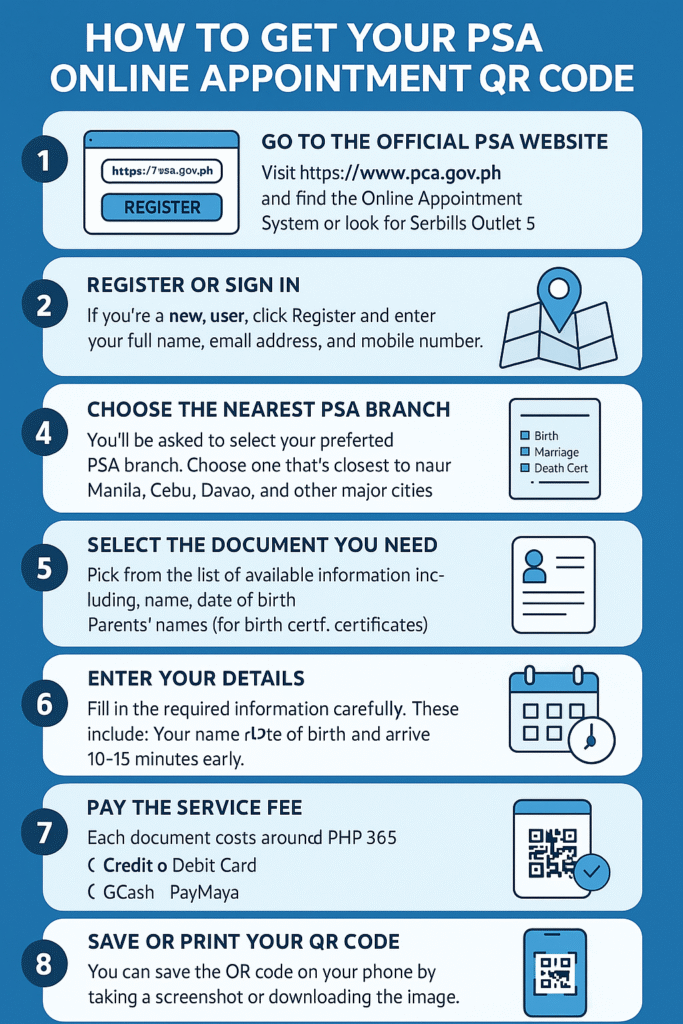
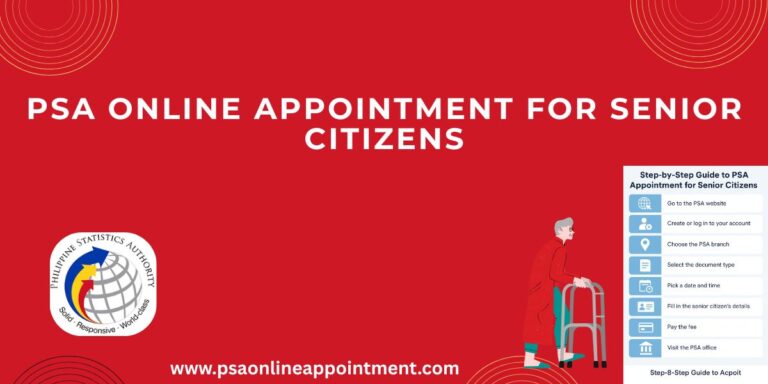
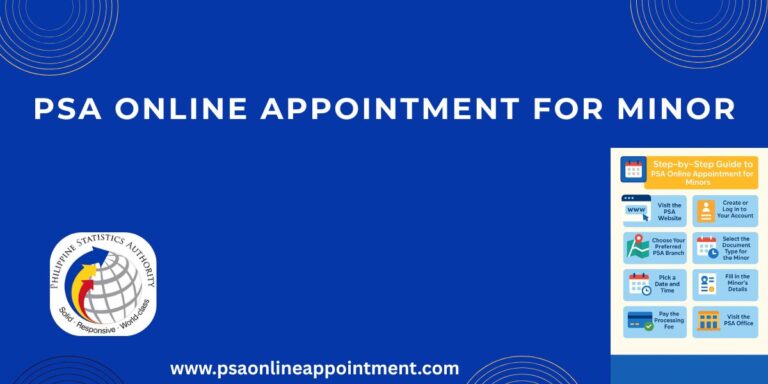
How to Get Your PSA Online Appointment QR Code
Getting your QR code is simple if you follow these step-by-step instructions:
1. Go to the Official PSA Website
Visit https://www.psa.gov.ph and find the Online Appointment System or look for Serbilis Outlet Services.

2. Register or Sign In
- If you’re a new user, click Register and enter your full name, email address, and mobile number.
- If you already have an account, just log in.
3. Choose the Nearest PSA Branch
You’ll be asked to select your preferred PSA branch. Choose one that’s closest to your home or work. Popular locations include Manila, Cebu, Davao, and other major cities.
4. Select the Document You Need
Pick from the list of available documents:
- Birth Certificate
- Marriage Certificate
- Death Certificate
- CENOMAR (Certificate of No Marriage)
5. Enter Your Details
Fill in the required information carefully. These include:
- Your name
- Date of birth
- Parents’ names (for birth certificates)
- Spouse’s name (for marriage certificates)
6. Pick Your Date and Time
The system will show you available slots. Select the most suitable date and time. Tip: Choose morning hours for quicker service and arrive 10-15 minutes early.
7. Pay the Service Fee
Each document costs around PHP 365. You can pay using:
- Credit or Debit Card
- GCash
- PayMaya
Once your payment is confirmed, PSA will email you a confirmation with your appointment details and your unique QR code.
8. Save or Print Your QR Code
- You can save the QR code on your phone by taking a screenshot or downloading the image.
- You may also print a hard copy, especially if you prefer to keep a backup.
How to Use the QR Code During Your PSA Visit
When your appointment day arrives, follow these simple steps:
- Arrive Early: Reach the PSA office at least 10-15 minutes before your scheduled time.
- Show the QR Code: At the entrance, show your digital or printed QR code. PSA staff will scan it to confirm your booking.
- Follow Instructions: Once verified, follow the directions given by staff for document processing.
Tips for a Smooth Appointment
To ensure you have a stress-free experience:
- Double-check your information before confirming the booking.
- Save or print your QR code in advance.
- Bring a valid government-issued ID for verification.
- Follow COVID-19 protocols if still applicable in your area.

If you are unable to book online, you can explore the PSA walk-in process in the Philippines 2025, but keep in mind that online appointments are generally faster and more organised.
Quick Summary of Steps
| Step | Action |
| 1 | Visit PSA website |
| 2 | Register or log in |
| 3 | Choose your PSA branch |
| 4 | Select document type |
| 5 | Fill out details |
| 6 | Pick a date and time |
| 7 | Pay online |
| 8 | Save or print QR code |
| 9 | Present QR code at the PSA office |
Conclusion
The PSA Online Appointment QR Code is a helpful and necessary part of the appointment process in 2025. Whether you need a birth certificate, marriage record, or CENOMAR, having a QR code makes your visit faster, safer, and more convenient. It helps you avoid long lines and reduces manual entry errors.
Book your appointment today and experience the ease of getting your PSA documents. And if you’re unable to go through the digital booking, the PSA walk-in process in the Philippines 2025 is still an option worth exploring.


One Comment