How to Apply for a PSA Birth Certificate Online?
This question comes up more often than most people realize. A parent needs a copy for a child’s school enrollment. A young adult cannot get a passport without it. An OFW stuck abroad realizes the document was left behind. And every single one of them thinks the same thing: this is going to be complicated ,It is not. Applying online takes about fifteen minutes. No appointment. No travel. No standing in line. Just a few clicks, a payment, and a short wait for the courier to knock on the door.
Here is exactly how to do it.
Documents and Details Needed:
Before opening any website, gather these three things. Missing even one causes delays.
- Full name exactly as it appears on the birth record – spelling must be perfect
- Date and place of birth – province and municipality matter
- Parents full names – mother’s maiden name included
Also prepare a valid ID and a working mobile number. The tracking reference number is sent by SMS and email. Without access to either, the application cannot be completed.

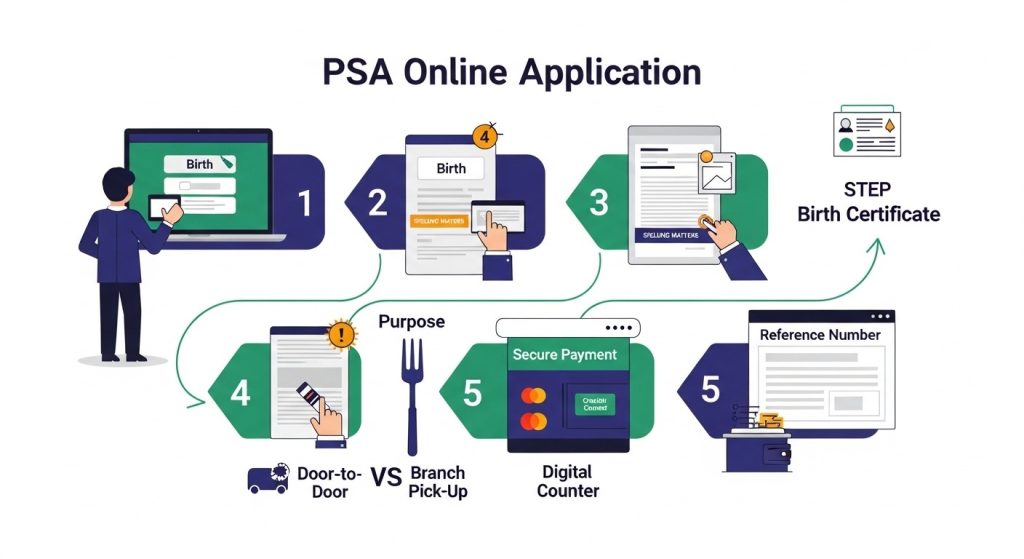
Step-by-Step Application Process
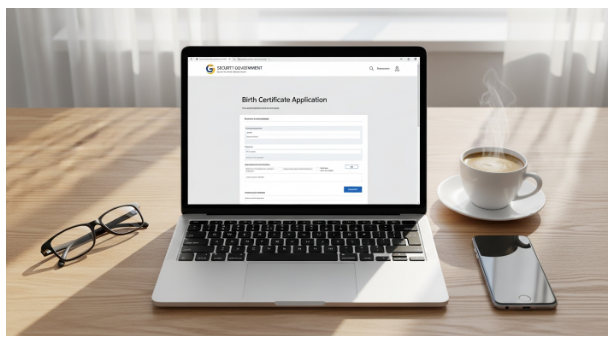
Step 1: Go to the Official Online Portal
Open a browser on any device. A phone, tablet, or computer works fine. The system runs twenty-four hours a day, seven days a week. Late at night or early morning makes no difference.
Look for the official online channel. Avoid third-party websites that charge extra fees. The official portal has a clean layout and does not ask for unnecessary personal information.
Step 2: Select the Certificate Type
Once on the homepage, look for the “Order Now” button or a similar call to action. Click it. A menu appears with different certificate options.
Select “Birth” from the list. The other options are for Marriage, Death, and CENOMAR. Choosing the wrong one means starting over.
Step 3: Accept the Terms and Conditions
A page with terms and conditions appears. Read through it quickly. Then check the box that says “I accept.” Click the continue button to move forward.
Skipping this step is not possible. The system does not proceed until the box is checked.
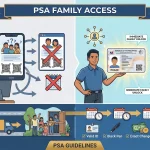
Step 4: Choose Who the Request Is For
Two choices appear on this screen.
- My Own Birth Certificate: for requests made by the person named on the document
- For Someone Else: for parents requesting a child, or a family member requesting a relative
Select the correct option. Choosing the wrong one does not stop the application, but it confuses later when the delivery arrives.
Step 5: Fill In the Birth Details Precisely
This step determines success or failure. Spelling errors are the most common reason for delayed delivery. A single typo in a PSA birth certificate request means the system cannot find the record.
Enter the following exactly as they appear on the birth record:
- Full name (first, middle, last)
- Date of birth (day, month, year)
- Place of birth (province and municipality)
- Mother’s full maiden name
- Father’s full name
Double-check every letter before clicking next.
Step 6: Enter Location Information
For births that happened in the Philippines, select the province and municipality from the dropdown menus. The system uses these to locate the correct Local Civil Registry Office.
For births that happened outside the Philippines, additional details are required. These include the reference number, the dispatch number, and the dispatch date from the foreign birth record.
Step 7: Select the Purpose of Request
A dropdown menu asks why the certificate is needed. Common options include:
- Passport or travel
- School enrollment
- Local employment
- Foreign employment
- Marriage application
- Government benefits (SSS, PhilHealth, Pag-IBIG)
- Late registration
Select the closest match. The purpose does not affect processing speed or delivery time. It is only for PSA records.
Step 8: Provide Contact and Delivery Details
Enter a working mobile number and an active email address. The system sends a confirmation and a tracking reference number to both.
For the delivery address, provide:
- House number and street name
- Barangay
- City or municipality
- Province
- Postal code
Incomplete addresses cause delivery failures. The courier needs all details to find the location.
Step 9: Choose Delivery Mode
Two options are available.
- Nationwide Door-to-Door: the certificate is delivered directly to the address provided
- Branch Pick-Up: The certificate is sent to a partner branch like National Bookstore or Robinsons for personal collection
Door-to-door costs a higher fee. Branch pick-up costs a lower fee. Choose based on convenience.
Step 10: Pay Using a Preferred Method
The payment screen shows the total amount. Multiple payment options are accepted.
- Visa or Mastercard (real-time processing)
- GCash (real-time processing)
- BancNet ATM (1 to 2 day delay)
- Over-the-counter at partner centers
After payment, wait for the confirmation screen. Do not close the browser until the transaction completes.
Step 11: Save the Reference Number
A 10-digit reference number appears on screen after successful payment. The same number is sent by email and SMS.
Write this number down. Save it on the phone. Take a screenshot. Without this number, tracking the order is impossible.
Step 12: Track Delivery Until It Arrives
Use the 10-digit reference number on the tracking page. The status updates as the PSA processes the request and the courier moves the package.
Delivery times vary by location.
| Location | Typical Waiting Time |
| Metro Manila | Next business day |
| Luzon (provincial) | 3 to 5 working days |
| Visayas | 5 to 7 working days |
| Mindanao | 5 to 8 working days |
What to Do When the Courier Arrives
The courier asks for two things before handing over the envelope.
- A valid government-issued ID
- A signature on the delivery receipt
Inspect the document immediately. Look for the hologram, watermark, and QR code. These confirm the certificate is authentic.
If unable to receive the package in person, the email confirmation includes a link to assign an Authorised Person to Receive (APR). Fill out that form before the delivery date.
Common Mistakes That Delay Delivery
Avoid these errors to keep the process smooth.
- Spelling mistakes: the name must match the birth record exactly
- Wrong date of birth: even a single digit causes a mismatch
- Incomplete address: missing barangay or postal code confuses the courier
- Using a third-party website: extra fees and no real benefit
- Losing the reference number: without it, tracking is impossible
Frequently Asked Questions
Q1: How long does the online application take?
The form itself takes about fifteen minutes to complete. Delivery takes additional days depending on location.
Q2: Can someone apply for a family member?
Yes. Select “For Someone Else” during the application. The person receiving the certificate must present a valid ID at delivery.
Q3: What if the birth record is not found?
The system returns a “No Record Found” message. Do not reapply immediately. Contact PSA support first to verify the record exists.
Q4: Is the online certificate the same as the walk-in version?
Yes. Both are printed on the same security paper with holograms and watermarks. The only difference is the delivery method.
Final Summary
The online application process has twelve steps. Each step takes less than two minutes. The hardest part is typing the birth details correctly. Everything else is clicking buttons and filling in addresses. No appointment. No travel. No lines. Just a form, a payment, and a wait for the courier. The document arrives at the door within days. Open it. Check the security features. Use it for a passport, school, employment, or any other official need.